
Stand up from your chair. Plant your feet. Do they feel solid, or a little far away, like the floor is on a different level than the rest of the room?
That vague, unreliable feeling in the soles is what peripheral neuropathy often looks like in real life. Nerves carry messages between your feet and your brain in both directions. When they’re damaged, some messages arrive scrambled, which is the burning and the pins and needles. Others don’t arrive at all. That’s the numbness.
It matters more than comfort. Your brain leans on those signals to know where your feet are and what they’re standing on, the sense called proprioception. Lose part of it and your balance loses one of its main inputs. That’s why people with neuropathy often shuffle, catch their toes, or freeze on uneven ground.
The short answer: you can train the balance system you still have, starting from a chair. A 2026 meta-analysis of 16 randomized trials covering 759 middle-aged and older adults with diabetic neuropathy found that exercise improved scores on several standard balance tests, including how long people could stand on one leg. The honest caveat: the researchers rated the certainty of that evidence as low to very low, and found no significant change in walking endurance. Promising, but not settled.
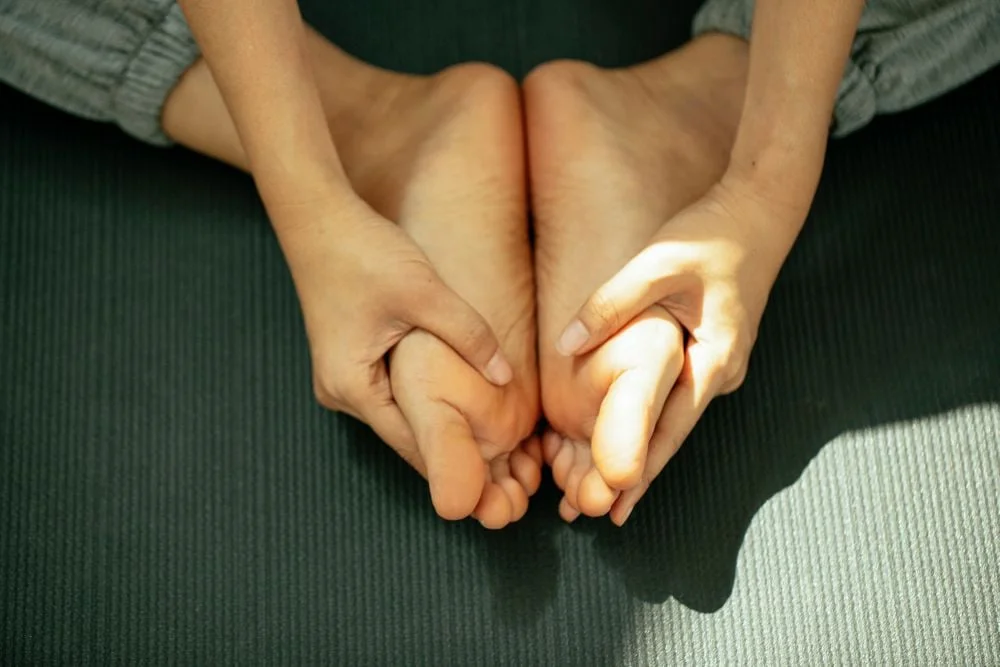 ” alt=”Seated person working on bare feet with hands on a dark exercise mat”>
Most of this research involves people whose neuropathy comes from diabetes. If yours has a different cause, such as chemotherapy, check with your care team before you start. And here’s the line I always say before we get into any new routine: these are training movements, not medical advice. If you feel sharp pain or something is off, see a qualified professional before continuing.
Set Up a Safe Corner First
Talk to your doctor or physical therapist before starting any new routine, especially if you have a foot wound or ulcer, have fallen recently, or are being treated for cancer. The trials in the meta-analysis excluded people with a history of foot ulcers or amputation, so the findings don’t cover them.
For the standing work, stand in the corner of a room facing outward, with walls behind you and to one side, and a sturdy chair in front of you within easy reach. Wear supportive shoes, because socks on a smooth floor are a slip waiting to happen. And check your feet afterward, every session. Numb feet can’t tell you about a blister or a small cut, so look at your soles and between your toes when you’re done.
1. Seated Foot-Pressure Check
The gentlest move on this list, and it trains the exact thing neuropathy takes away: awareness of pressure under your feet.
Sit near the front of a sturdy chair with both feet flat on the floor. Press down through your heels and notice what you feel. Shift the pressure to the balls of your feet. Then the outer edges. Then the inner edges, around the arches. Move slowly and pause at each point for a few seconds, asking yourself where the pressure is.
Some spots will feel clear. Others will feel faint or blank, and either way you’ve learned something about your feet. Run the circuit 5 times, then rest.
- Sets x Reps x Tempo: 5 circuits of the pressure sequence, 2-3 second holds at each point, slow and controlled.
2. Seated Alternating March
Think of this as light cardio you can do during a TV ad break.
Sit tall without leaning back. Lift your right knee toward the ceiling, lower it, then lift your left. Swing your arms naturally, opposite arm to opposite knee, the way you would on a brisk walk.
Start with 30 to 60 seconds and build toward one or two minutes over a few weeks.
Why bother with something this simple? In a small 2012 pilot study, 17 people with diabetic neuropathy did 10 weeks of supervised, moderately intense aerobic and strength training and reported less pain and fewer neuropathy symptoms afterward. The study had no comparison group, and the researchers said the results need confirming. That program was harder than a seated march, so think of the march as the first step toward that kind of activity, once your doctor agrees.
- Sets x Reps x Tempo: 1-2 sets of 30-60 seconds, building to 1-2 minutes over a few weeks, steady brisk pace.
3. Seated Heel-Toe Rocks
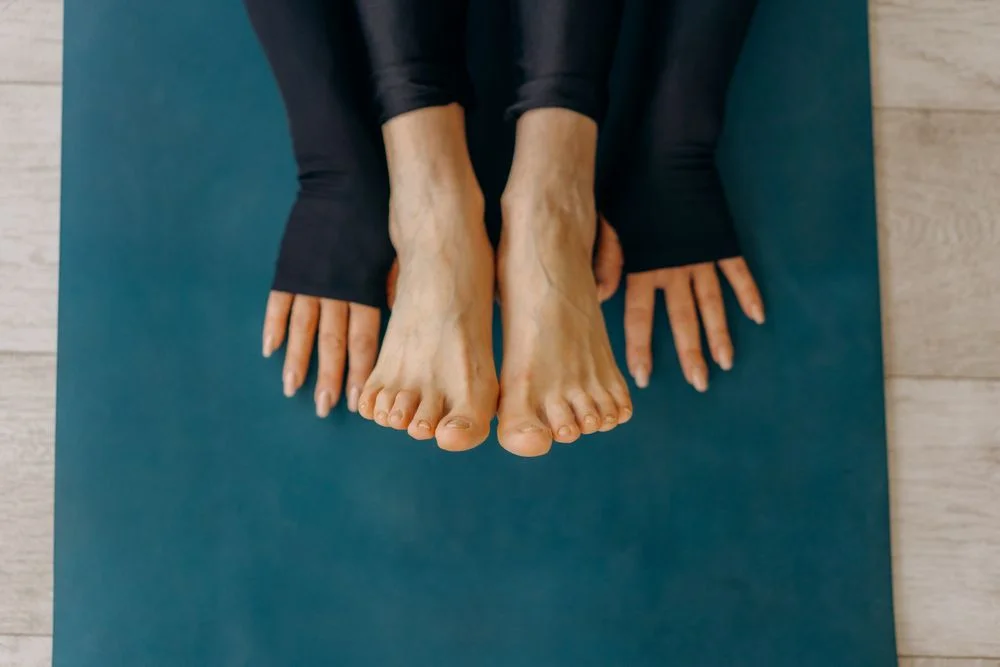 ” alt=”Seated person with bare feet flat on a teal exercise mat”>
This one works both ends of your lower leg. Keep both feet flat. Lift your heels while the balls of your feet stay down, and feel your calves tighten. Lower. Now rock the other way: lift your toes and the front of your feet while your heels stay planted. Lower. Heels up, flat, toes up, flat.
The toe lift works the tibialis anterior, the muscle along the front of your shin that raises your toes as you step forward. When it’s weak, clearing the ground gets harder and catching a toe gets easier. Do 10 to 20 slow rocks. Expect a mild burn in your shins if these muscles haven’t had much work lately.
- Sets x Reps x Tempo: 2-3 sets of 10-20 slow rocks, 2 seconds up and 2 seconds down on each end.
4. Seated Diagonal Chop
This one looks like an arm exercise, but your feet and trunk do most of the work.
Sit at the edge of your chair with both feet flat. Before you move your arms, press your feet firmly into the floor and keep that pressure the whole time. Clasp your hands and bring them down toward your left hip. Sweep them up diagonally across your body until they’re above your right shoulder. Bring them back down. That’s one rep. Do 10 to 15, then switch to low right, high left.
As your arms travel across your body, your trunk has to control the shifting weight while your feet stay anchored. That’s the same job your body does every time you reach for something on a shelf. If clasping your hands bothers your shoulders, move your arms side by side instead, because the diagonal path is what counts.
- Sets x Reps x Tempo: 2 sets of 10-15 reps per direction, controlled, with constant foot pressure on the floor.
5. Supported Sit-to-Stand
You stand up from a chair many times a day, which makes it worth practicing on purpose.
Sit near the front of a sturdy chair with a counter or second chair in front of you for support. Place your feet flat, slightly behind your knees. Lean forward, press through your feet, and stand up. Pause. Then sit down slowly, with control, rather than dropping. Use your hands on the support as much as you need at first. As you get stronger, try it with lighter hand contact. Do 5 to 10, and before each rep, check that you can feel both feet on the floor. That small pause is part of the exercise.
- Sets x Reps x Tempo: 2-3 sets of 5-10 reps, standing fully tall, lowering with control, 1-2 minutes rest between sets.
6. Standing Weight Shifts
Now move to your corner, chair in front. Stand with your feet hip-width apart and your hands resting on the chair back. Slowly shift your weight toward your right foot until it’s carrying most of your body, then back to center. Then to the left. Then forward onto the balls of your feet, and back toward your heels. Keep your movements smooth. You’re drawing a slow plus sign with your body. Do the full pattern 5 times.
A 2024 systematic review in Clinical Interventions in Aging looked at balance programs for people with diabetic neuropathy who were at risk of falling. Interventions built on intentional weight shifting, such as tai chi and yoga, gave the most consistent results for lowering fall risk. The authors noted that those particular studies scored lower on quality, so treat this as encouraging rather than conclusive. This drill is the simplest version of that idea.
- Sets x Reps x Tempo: 2-3 sets of 5 full plus-sign patterns, slow and smooth, brief pause at each extreme.
7. Modified Single-Leg Stance
This is the hardest move on the list. Don’t skip it, but respect where you are today.
In your corner, hold the chair lightly. Shift your weight onto your right leg. Step your left foot slightly behind you and let just the toes rest on the floor, like a kickstand. Your right leg does the work. Keep a soft bend in your standing knee. A locked knee lets you hang on the joint, while a slightly bent one makes the muscles around your knee and ankle hold you up.
You’ll feel your ankle making small corrections. That wobble is the point. It’s your balance system working. Hold for up to 30 seconds, then switch sides. Over time, try to lighten your grip to a few fingertips.
- Easier version: place your back foot flat on the floor just behind your front foot. This splits your weight between both legs.
- Harder version: lift the back toes off the floor completely for a true single-leg stand. Keep the chair within reach and your hand hovering over it.
Want to see the moves in action? Watch the routine this article builds on on the Fitwirr YouTube channel.
How Often and How Long
Start with two or three sessions a week, with a rest day in between. Each week or two, add a little challenge, such as a few more reps or a lighter grip on the chair. Pushing hard on day one and never progressing past week one are both ways to stall.
Neuropathy changes how much your feet can tell you, but your balance can still adapt to what’s left. The research is early and mostly small, so treat these moves as regular practice for your balance, not a cure. Check your feet after every session, and tell your doctor about any new numbness, wounds, or falls.



Leave a Reply